
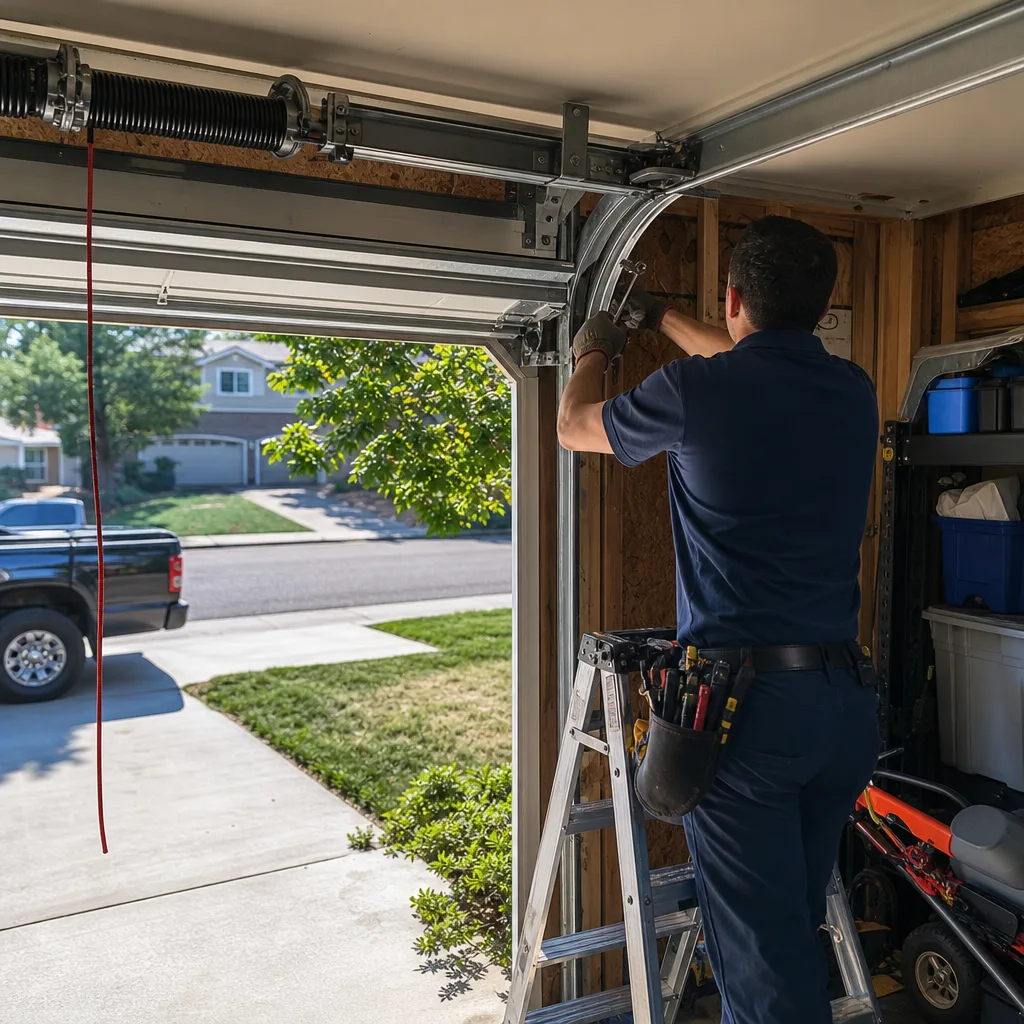
Last updated November 20, 2026
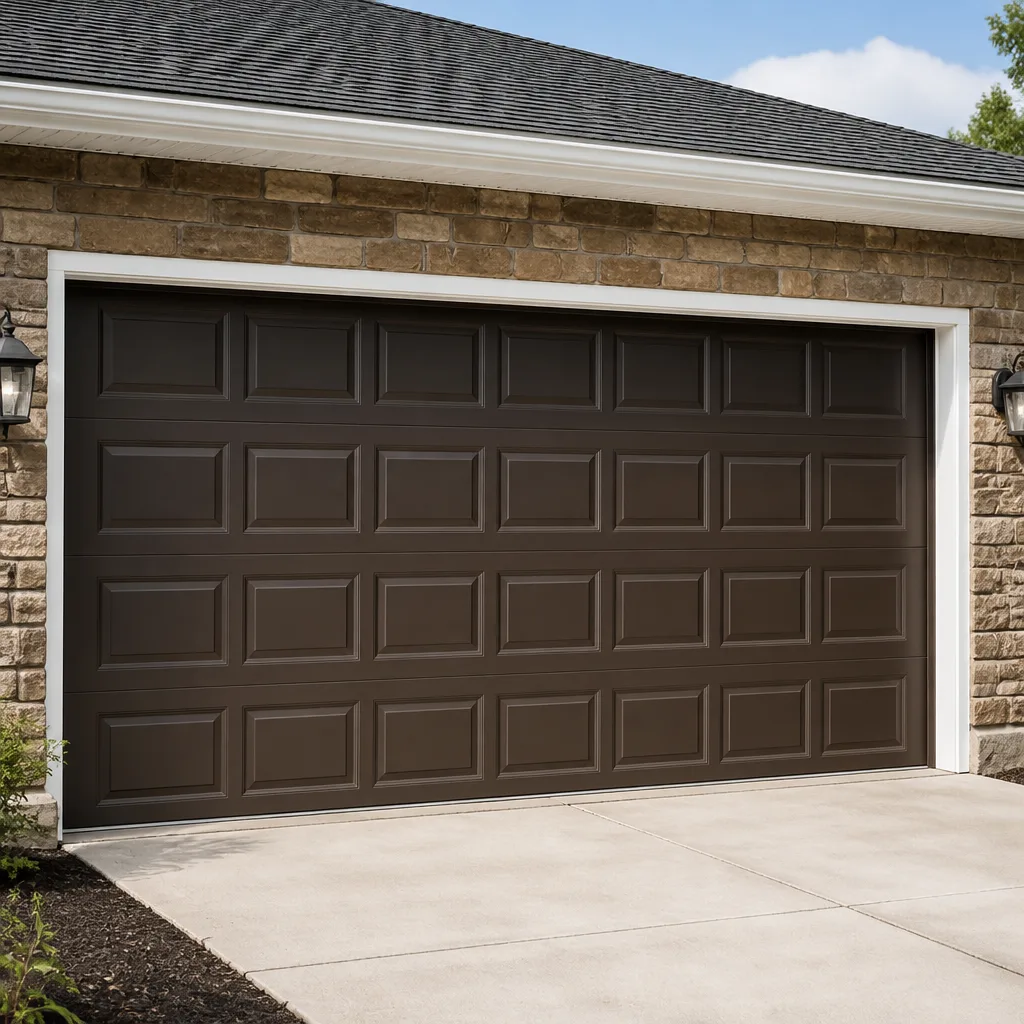 Raised-panel steel
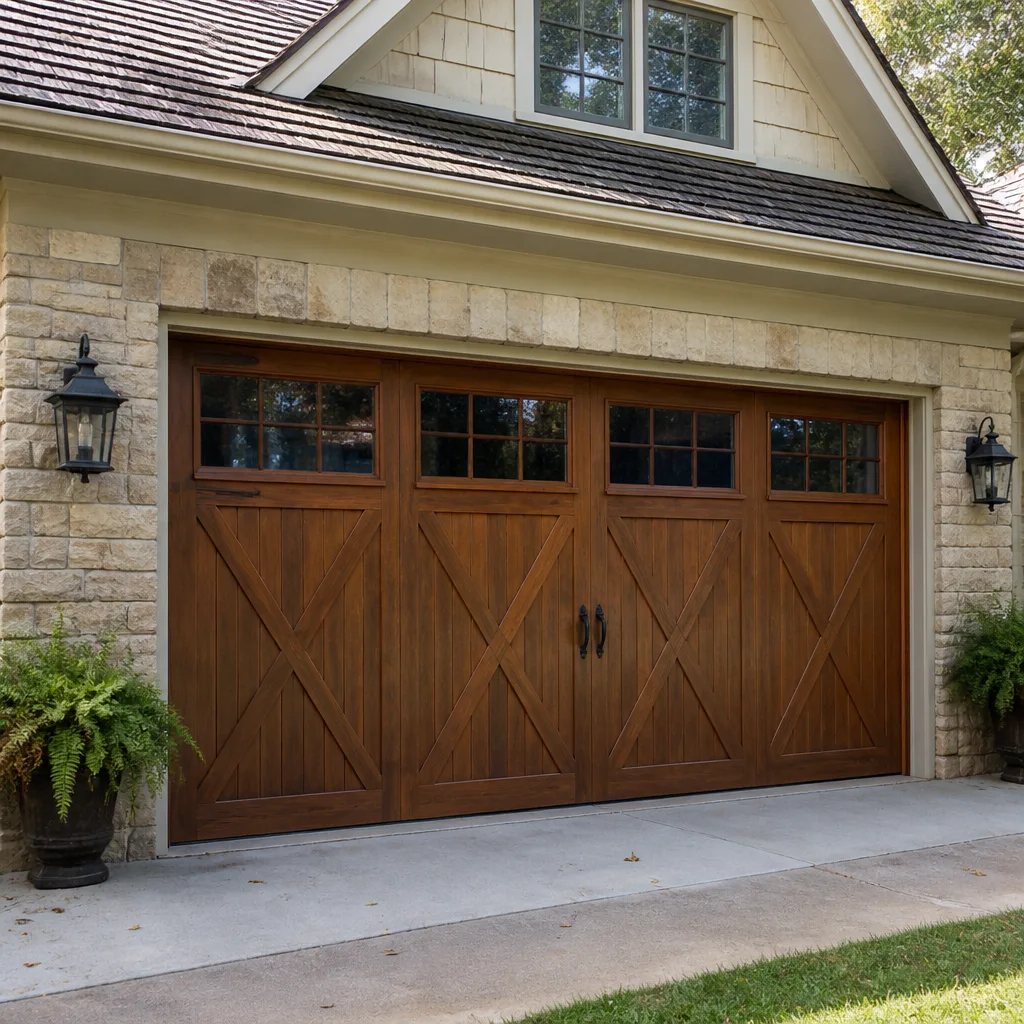 Carriage house
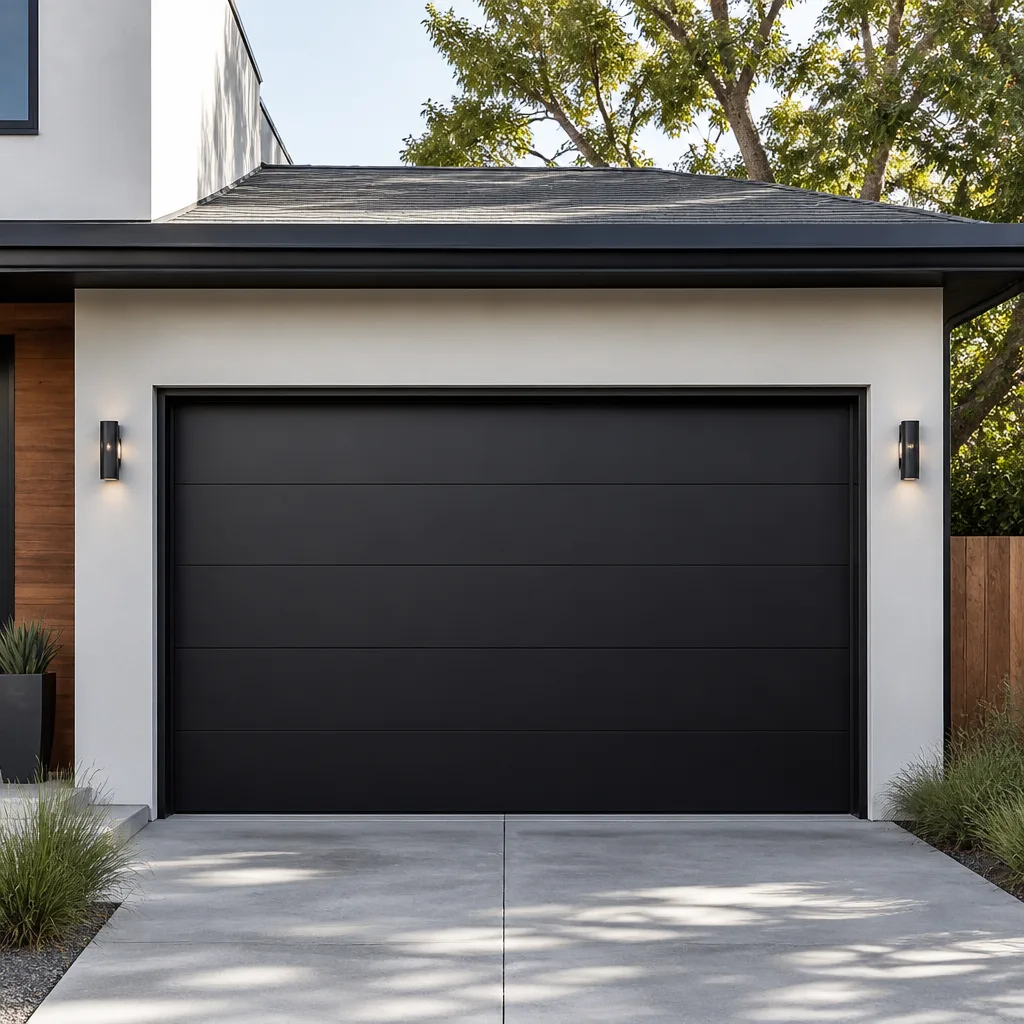 Modern flush
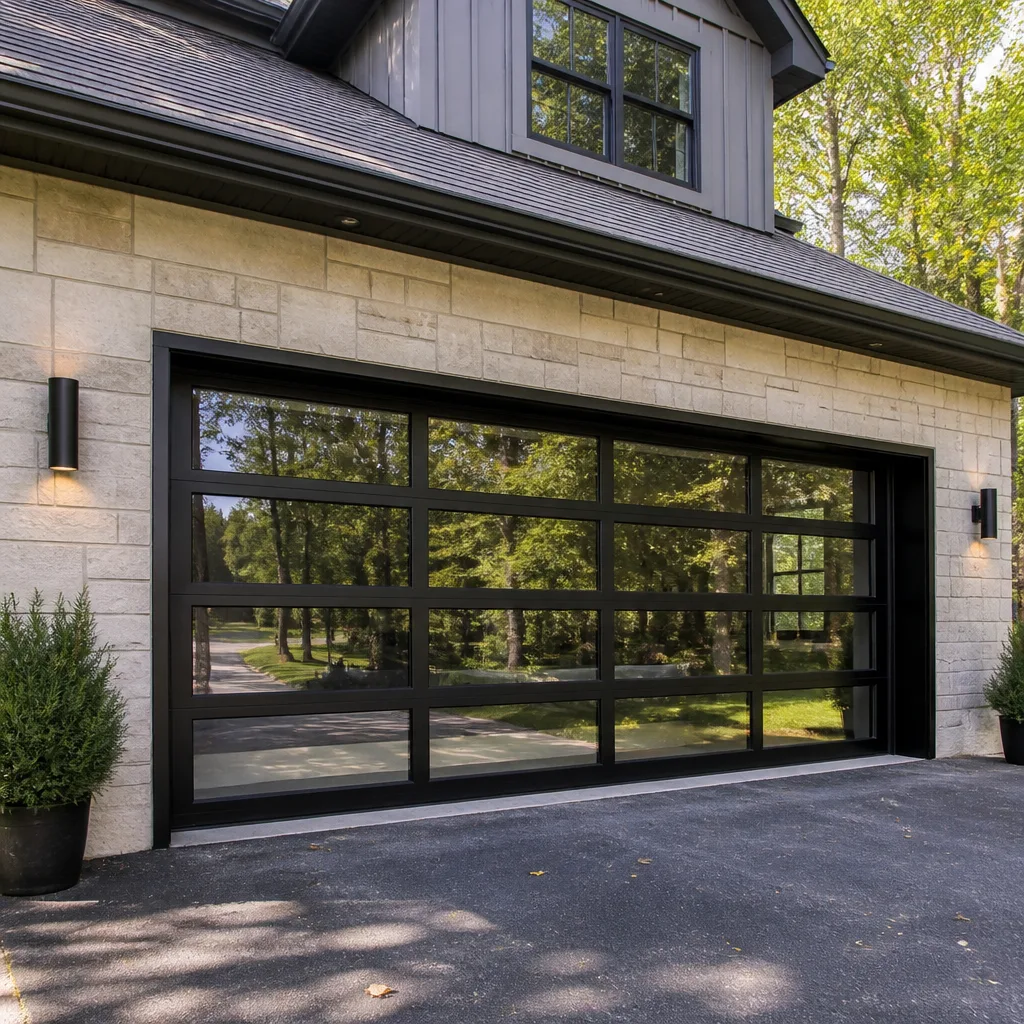 Full-view glass
 LiftMaster openers
 Chamberlain openers
Full 25-point door and opener safety check with every visit - springs, cables, rollers, tracks, and your LiftMaster or Chamberlain opener included
You get a price before we start. It does not change when the pro arrives.
Get your free estimateGarage Door Repair Maintenance Checklist for Englewood Homeowners
The number-one call we get in Englewood every March isn’t a broken spring. It’s a door that survived winter only to fail when the temperature finally swings 40 degrees in a single day. That failure is almost always preventable. Most checklists tell you to lubricate and listen, then stop. This one is organized differently: by which tasks actually prevent the costliest repairs, and which ones are mostly cosmetic. Below you’ll find a priority matrix, Englewood-specific timing built around our late-winter temperature swings, safe homeowner tests for balance and spring tension, and clear pass/fail criteria for each item so you know when you’re fine and when to call.
Quick Answer
A garage door maintenance checklist for Englewood homeowners should focus on three high-priority tasks that prevent the most expensive repairs: a balance test, a visual spring and cable inspection, and weatherstripping checks before and after winter. Run your full inspection in late March when temperature swings stress the metal, and again in October before the cold sets in. Cosmetic items like paint and panel dents can wait. The pass/fail criteria throughout this guide tell you when to keep going and when to call a technician.
Styles & brands we work with
- Raised-panel steel
- Carriage house
- Modern flush
- Full-view glass
- LiftMaster openers
- Chamberlain openers
Table of Contents
- Which Maintenance Tasks Actually Prevent Expensive Repairs
- Why Late March Matters More Than “Twice a Year”
- How to Test Balance Without Touching the Springs
- Reading Spring and Cable Warning Signs From a Safe Distance
- Weatherstripping in Colorado’s Dry Air
- Opener and Safety Reverse Checks
- Track, Roller, and Hardware Inspection
- Your Year-Round Englewood Maintenance Schedule
Which Maintenance Tasks Actually Prevent Expensive Repairs
Not every task on a checklist earns its place. Some prevent a $900 repair. Others prevent a slightly ugly door. If you only have thirty minutes a year, do the first three items on this list and skip the rest.
Here’s the priority matrix we use when explaining maintenance to Englewood homeowners. Tasks are ranked by what failure each one prevents, not by how easy it is to do in the driveway.
High priority: prevents the costliest repairs
- Balance test – a door that’s out of balance strains the opener and accelerates wear on springs and cables. This is the single most useful test a homeowner can run.
- Visual spring and cable inspection – catching a stretched spring or a frayed cable before it lets go prevents a door that won’t close at all.
- Safety reverse test – catches a failing sensor or opener logic before the door drops on something. This is a safety item, not a convenience item.
- Weatherstripping inspection – a failing bottom seal lets in cold air, water, and insects. In Colorado, dry air and strong UV degrade seals faster than most homeowners expect.
Medium priority: prevents incremental wear
- Roller and hinge inspection – a worn steel roller scores the track and makes the whole door louder and harder to lift.
- Track alignment check – a knocked track binds the rollers and eventually stalls the opener.
- Lubrication of hinges, rollers, and the torsion bar bearings – reduces friction so the opener and springs do less work.
Low priority: cosmetic only
- Paint touch-ups – matters for appearance and panel longevity, not for mechanical function.
- Panel cleaning and glass polish – pure aesthetics.
- Decorative hardware tightening – handles and strap hinges. Nice to fix, not urgent.
If you do only the high-priority items each spring and fall, you’ll prevent the vast majority of the mid-season failures we see on garage door repair calls throughout Englewood. Everything below walks through each item with a clear pass/fail so you know where you stand.
Why Late March Matters More Than “Twice a Year”
Generic advice says “inspect your garage door twice a year.” That schedule is too vague to be useful in Englewood, where a single March day can swing from a hard freeze at dawn to short-sleeve warmth by afternoon. That swing, repeated over weeks, is what stresses metal and seals the most.
Here’s what’s happening to your door during a Colorado temperature swing. Steel tracks expand and contract at a different rate than the aluminum or steel panels they hold. Springs under tension change their stored energy slightly with temperature. Bottom seals stiffen in the cold and relax in the heat, which can pull them loose from their retainers over a season of repeated cycles. None of that is dangerous on its own. But it’s why a door that felt smooth in January can suddenly bind, rub, or refuse to close in late March.
Englewood-specific timing
- Late March (post-winter) – the most important check of the year. Run the full checklist because the door has just survived its hardest season of thermal cycling. Do this before the warm season’s heavier use kicks in.
- Mid-summer – a quick balance test and visual inspection. The dry heat is when weatherstripping and rubber seals take the most UV damage, so check the bottom seal.
- Late October (pre-winter) – the second full check. Lubricate hinges and rollers before the cold stiffens the grease, and confirm the safety reverse works before the door sees heavier use through the winter.
Neighborhoods on the west side of Englewood, closer to the South Platte and the older housing stock near the city center, tend to have more wooden and older steel doors that show temperature-related binding sooner. Newer doors elsewhere in Englewood still benefit from the same late-March schedule, but the older doors show the symptoms first.
One note on emergencies. If a door fails outside our regular hours, we still answer the phone. We answer 24/7. A call outside dispatch hours is booked into the next opening, Sunday through Friday, 7am to 7pm.
How to Test Balance Without Touching the Springs
The balance test is the single most useful thing a homeowner can do, and it requires zero contact with the springs. You’re testing the door as a whole, not adjusting anything. If it fails, that’s information for a technician, not a repair project for you.
Step-by-step balance test
- Close the door fully and disconnect the opener using the manual release cord (usually a red handle hanging from the rail).
- Lift the door by hand to about waist height, then let go. Pass: it stays roughly where you left it, perhaps drifting a few inches. Fail: it slams down or creeps back up on its own. A door that won’t hold position is out of balance.
- Raise the door to about halfway, then let go again. Same pass/fail criteria. The door should feel light and controllable, not heavy.
- Reconnect the opener and open and close once to confirm normal operation.
A door that fails the balance test usually means the torsion springs have lost tension or one of a pair has failed. That is a spring problem, and springs are the one part of a garage door a homeowner should never adjust, replace, or try to “tighten.” Torsion springs store enough energy to cause serious injury in a fraction of a second, and the adjustment procedure requires specialized winding bars and training. When the balance test fails, that’s your signal to stop and call for garage door spring repair.
We’ve seen this failure most often in late March in Englewood, when a door that tested fine in the fall suddenly won’t hold position. It’s the classic post-winter symptom. The good news: catching it with the balance test prevents the opener from working overtime on an out-of-balance door, which is what turns a spring repair into a spring-plus-opener repair.
Reading Spring and Cable Warning Signs From a Safe Distance
You can learn a lot about your springs and cables without touching them. All you need is a flashlight and a few seconds of careful looking. What you’re checking for is visible damage, not tension.
Visual spring and cable checklist
- Look at the torsion spring above the door. Pass: the coil is tightly wound and even. Fail: there’s a visible gap in the coil, or the two springs of a pair look asymmetric in diameter. A gap means the spring has broken.
- Look at the extension springs (if your door has them, usually running along the horizontal tracks). Pass: straight coil, intact safety cable running through the center. Fail: stretched coil, missing safety cable, or a coil that looks elongated and thin in one section.
- Look at the lift cables. Pass: smooth, evenly wound on the drums at the ends of the torsion bar. Fail: frayed strands, kinks, or a cable that’s visibly off its drum.
- Look at the bottom brackets where the cables attach. Pass: cables seated in the bracket, no slack. Fail: a loose or disconnected cable. Do not touch it. A slack cable can snap back under load.
Any “fail” on cables or bottom brackets is a stop-doing-anything signal. A door with a compromised cable can drop without warning. Leave it closed if you can, keep clear of the door, and call a technician. The same goes for anything you see involving the torsion spring: a visible gap, a snapped coil, or a door that won’t lift at all.
A matched pair of torsion springs usually gets replaced together when one fails, because the surviving spring carries the full load and typically fails shortly after. That’s worth knowing when you’re planning the repair. Our technicians have up to 11 years of experience with torsion and extension systems on every major brand, so a technician looking at your Raynor or LiftMaster door knows the spring setup before anyone touches it. That’s the difference between a proper repair and a guess.
Weatherstripping in Colorado’s Dry Air
Weatherstripping fails faster in Colorado than most homeowners expect. Two things do the damage: UV exposure and very low humidity. The bottom seal and the perimeter seals are rubber or vinyl, and both materials dry out, stiffen, and crack under constant UV. When they lose flexibility, they stop sealing.
How to inspect your seals: pass/fail
- Bottom seal flexibility. Pass: the seal flexes when you press it with a finger. Fail: it feels hard, dry, or crumbles at the edge. That’s UV and dry-air degradation.
- Bottom seal contact. Close the door and look at the gap between seal and floor. Pass: no visible daylight and no draft when you hold a hand under the door. Fail: a clear strip of light or a draft. The seal or the door’s stop position needs attention.
- Perimeter seals (sides and top). Pass: seals touch the door panel along their length. Fail: gaps, curling, or sections pulling away from the frame.
- Seal attachment. Pass: firmly seated in its retainer. Fail: sections loose, or seal hanging.
Failing perimeter seals let in cold air, water during spring storms, and insects. Failing bottom seals are the most common weatherstripping issue we see in Englewood, and they’re usually the fastest to fix. Replacing a bottom seal is a reasonable homeowner job on most doors. Replacing the seals along the frame is more involved but still within reach for a careful homeowner.
The best time to inspect is late March, after the winter season has cycled the seal through the hardest temperature swings. The second-best time is October, before the cold. If a seal looks dry and cracked but still flexes, it’s on its way out but not urgent: note it and plan the replacement. If it’s hard and crumbling, replace it before the spring rain season.
Opener and Safety Reverse Checks
Your opener is the part of the system most homeowners interact with daily and understand least. The reverse test is the most important safety check, and it takes under a minute. Every opener, whether a LiftMaster or Genie or Chamberlain myQ unit, has a safety reverse function. It needs to work.
Safety reverse test steps
- Place a solid object about the height of a 2×4 on the floor in the door’s path.
- Close the door using the opener.
- Pass: the door contacts the object and reverses back up. Fail: the door continues down or stops without reversing. Stop using the opener until a technician checks it.
- Test the photo-eye sensors as well: pass a hand through the beam and confirm the door reverses. Clean the sensor lenses first, since dust and cobwebs are the most common cause of a false trigger.
The other thing to check on the opener is noise and speed. A door that suddenly sounds louder or moves slower than usual is telling you something changed. That could be a worn gear in the opener, a failing capacitor, or a door that’s out of balance and straining the opener. Those cause very different repairs, which is why proper diagnosis is worth doing before you replace the opener. If the opener itself has failed, we cover garage door opener repair for smart-home systems and traditional chain, belt, and screw-drive units alike.
If you own a smart-home setup, use the app to check that the door reports open and closed states correctly. If the app has stopped updating or the door shows “open” when it’s closed, the sensor wiring is a common culprit and worth a look. Don’t ignore a stale status feed: it may also affect the auto-close features that make these systems convenient.
Track, Roller, and Hardware Inspection
Tracks and rollers are where you’ll find the wear that makes a door noisy and hard to operate. This section is the easiest to do yourself, and the wear is easy to spot once you know what to look for.
Checklist with pass/fail
- Track alignment. Pass: straight vertical and horizontal runs, with the door moving smoothly. Fail: a visible kink or bend, especially near the curve at the top. Don’t try to bend it back. A misaligned track needs a technician.
- Track fasteners. Pass: all lag bolts tight against the jamb. Fail: loose or missing fasteners. Tighten what’s loose, and call if the track itself is moving.
- Rollers. Pass: rollers turn freely, no flat spots or wobble. Fail: chatter, squeal, a flat spot on a roller, or a roller that’s come out of the track. Replace worn rollers before they score the track.
- Hinges. Pass: hinges tight, no visible wear on the pin. Fail: loose or creaking hinges. Lubricate the pin, tighten the fastener.
- Cables and drums (visual only). Pass: cables spooled neatly on drums. Fail: anything off the drum. Don’t attempt this one yourself.
Lubricate hinges and rollers with a garage-door-specific lubricant (silicone or lithium, not WD-40, which attracts dust), and apply a light coat along the torsion bar bearings. This is a fifteen-minute job that noticeably reduces noise and wear. In Englewood’s dry air, a light spring and fall application is usually enough; over-lubrication attracts dust and grit, which does more harm than good.
Your Year-Round Englewood Maintenance Schedule
Here’s the full schedule in one place, organized by season. Print it or bookmark it. Each check has a clear pass/fail, so a “pass” means you’re done and a “fail” means you call.
Late March (post-winter full check)
- Balance test (page one priority)
- Visual spring and cable inspection
- Weatherstripping inspection
- Safety reverse test
- Track, roller, hinge inspection
- Lubricate hinges, rollers, torsion bearings
Mid-summer (light check)
- Bottom seal UV and flexibility check
- Balance test
- Listen for new noise, check opener speed
Late October (pre-winter full check)
- Balance test
- Visual spring and cable inspection
- Safety reverse test
- Lubricate before cold sets in
- Weatherstripping inspection
That’s the whole year. If the late-March and late-October full checks keep coming back as passes, you’re in good shape. If one fails on a component you can inspect safely (weatherstripping, rollers, hinges), fix it. If one fails on a spring, cable, or bottom bracket, that’s a call. And if the balance test fails at any point in the year, don’t wait for a scheduled check.
We see this schedule prevent the majority of the mid-season failures we’re called out for in Englewood, simply because it catches the wear before it becomes a breakdown. If you’d rather have a technician walk through the full checklist for you, we offer free estimates on the repairs a maintenance check turns up.
Common Mistakes to Avoid
- Lubricating the springs instead of the bearings. Some people spray the torsion spring coil itself, which does nothing useful and collects dust. Lubricate the torsion bar bearings and the hinges and rollers, not the coil.
- Tightening the springs by hand. This is the single most dangerous mistake a homeowner can make. Torsion springs are under extreme tension. If a spring looks wrong, stop and call for garage door spring repair.
- Assuming “twice a year” means any two times. In Englewood, the two most useful times are late March and late October because that’s when the temperature swings stress the door. A spring and fall check in other months misses the worst of the thermal cycling.
- Ignoring a failing bottom seal through the spring. A cracked bottom seal lets in water and insects all season. Replace it before the spring storms, not after.
- Assuming a louder door is normal. A door that gets louder over months is telling you a roller, bearing, or spring is wearing. Address it while it’s a small job, not after the opener burns out from the extra load.
- Testing the safety reverse once and never again. Photo-eye sensors can drift or collect dust, and opener logic can fail. Test the reverse every late-March and late-October check, and after any power outage.
- Calling a general handyman for a spring or opener problem. Springs and openers are the two parts of a garage door where a specialist matters most. A handyman who “also does doors” doesn’t have the winding bars, the training, or the brand-specific parts knowledge for a torsion spring job.
See the difference
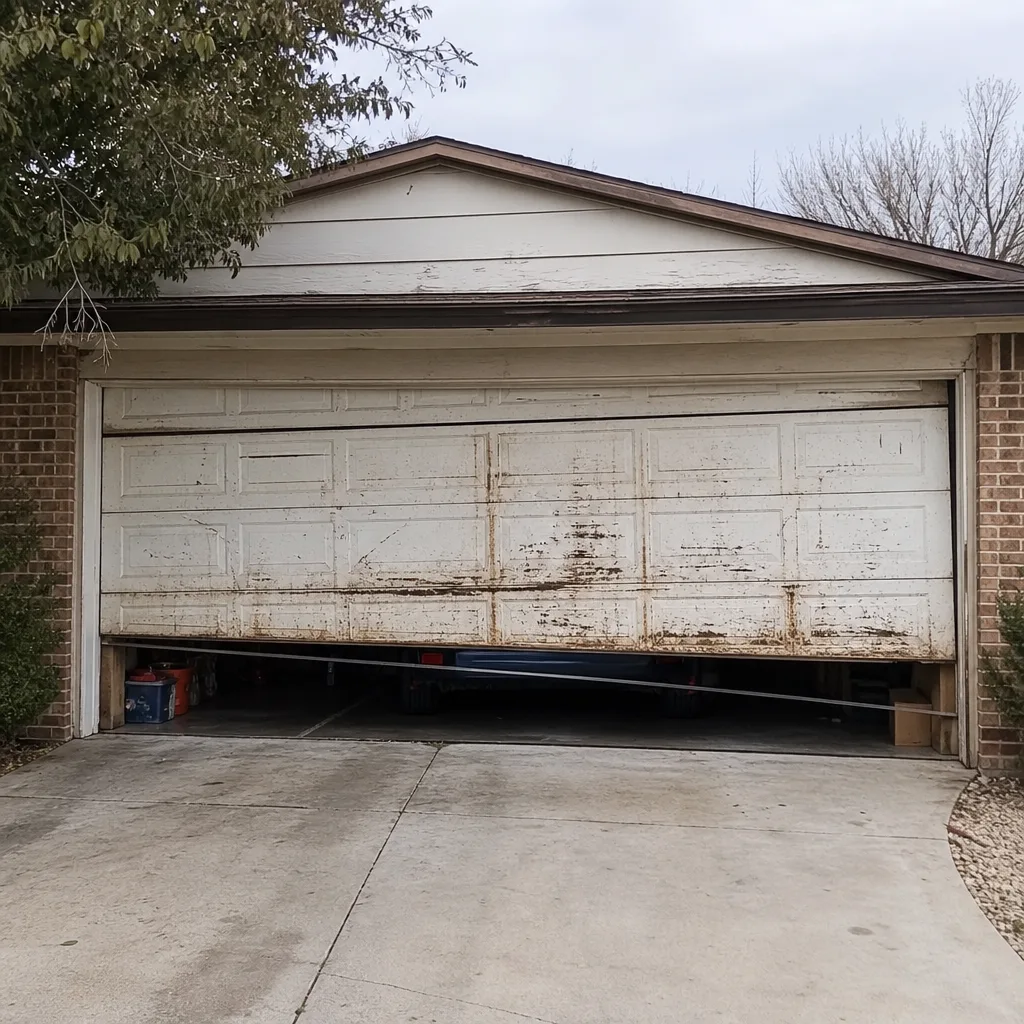 Before
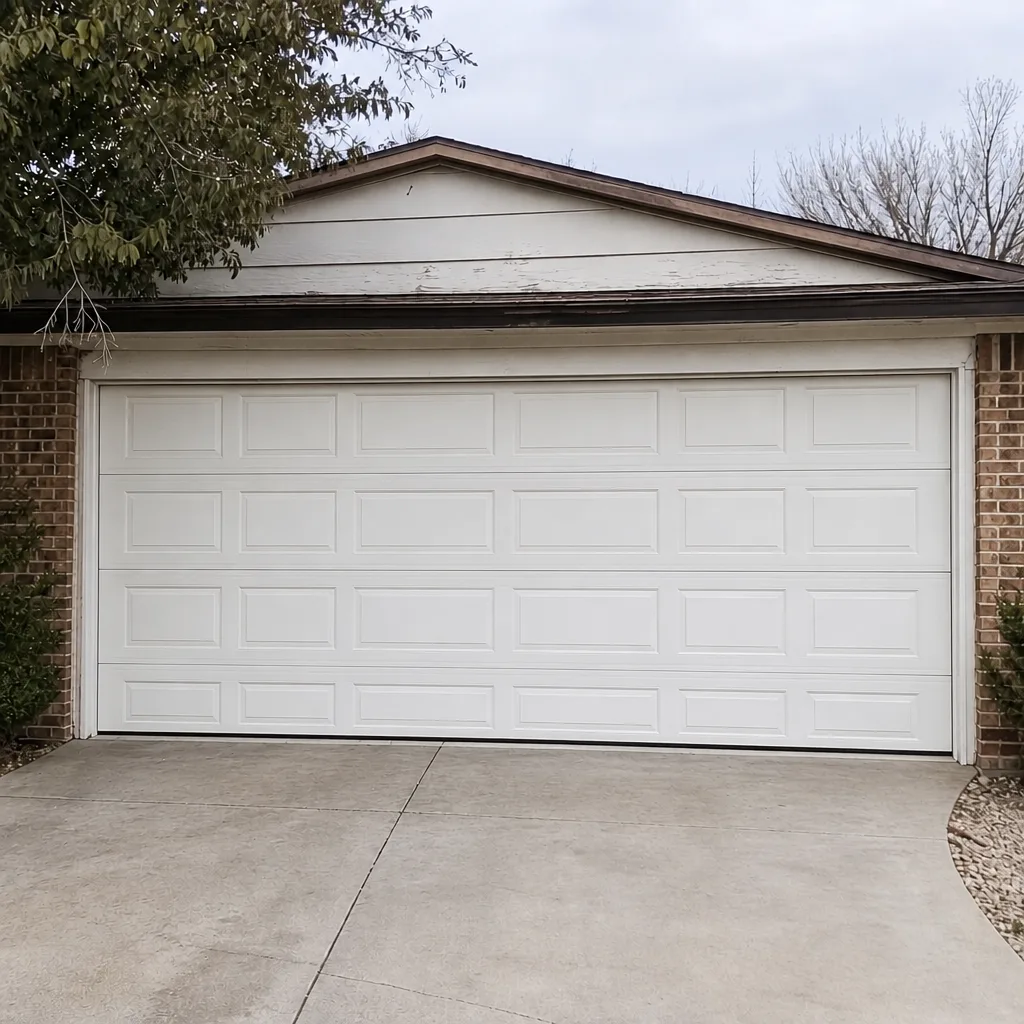 After
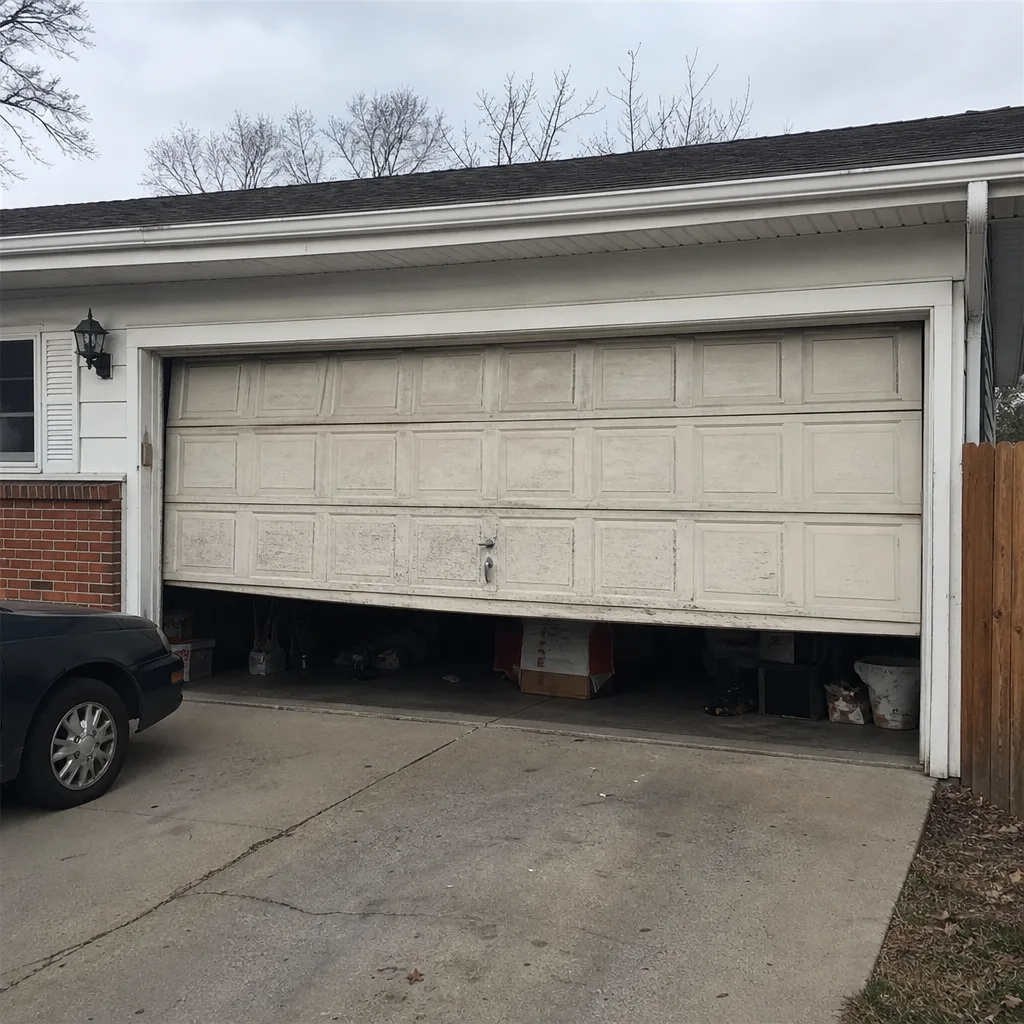 Before
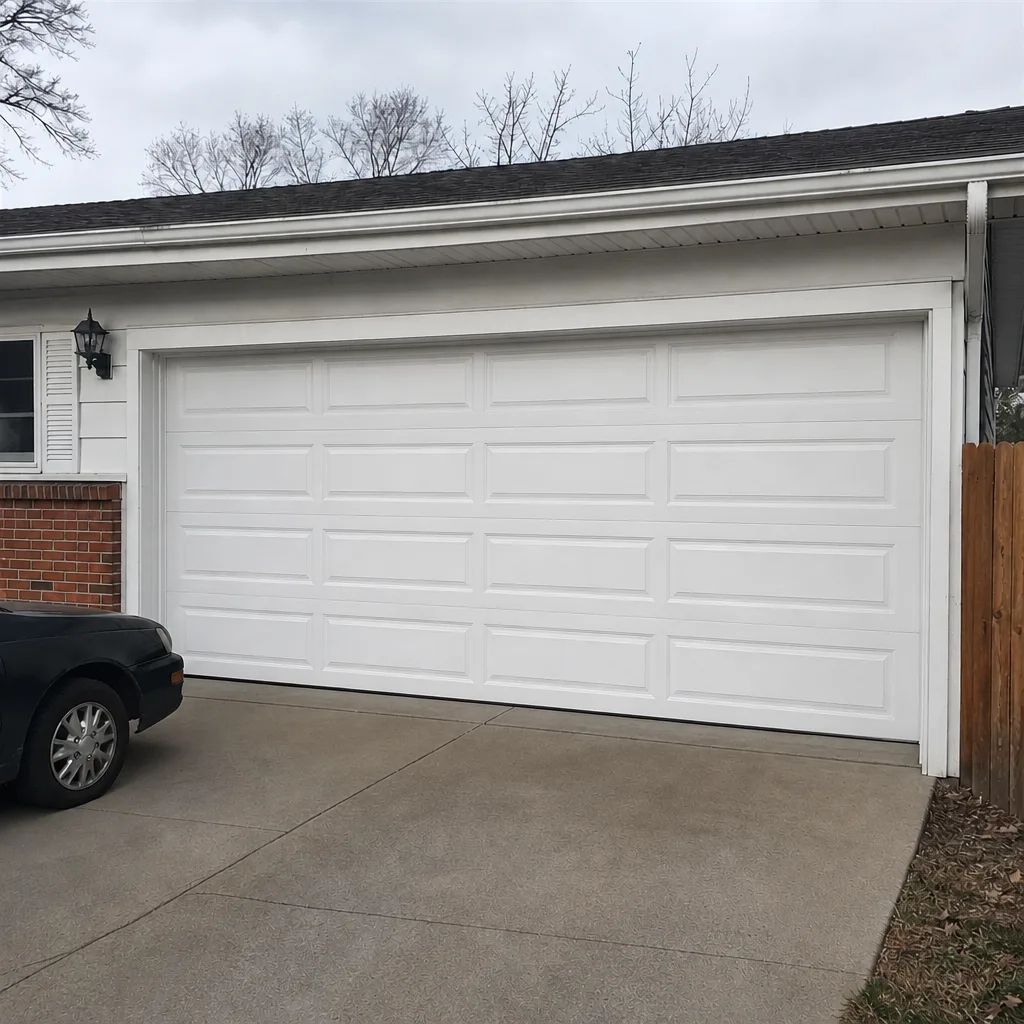 After
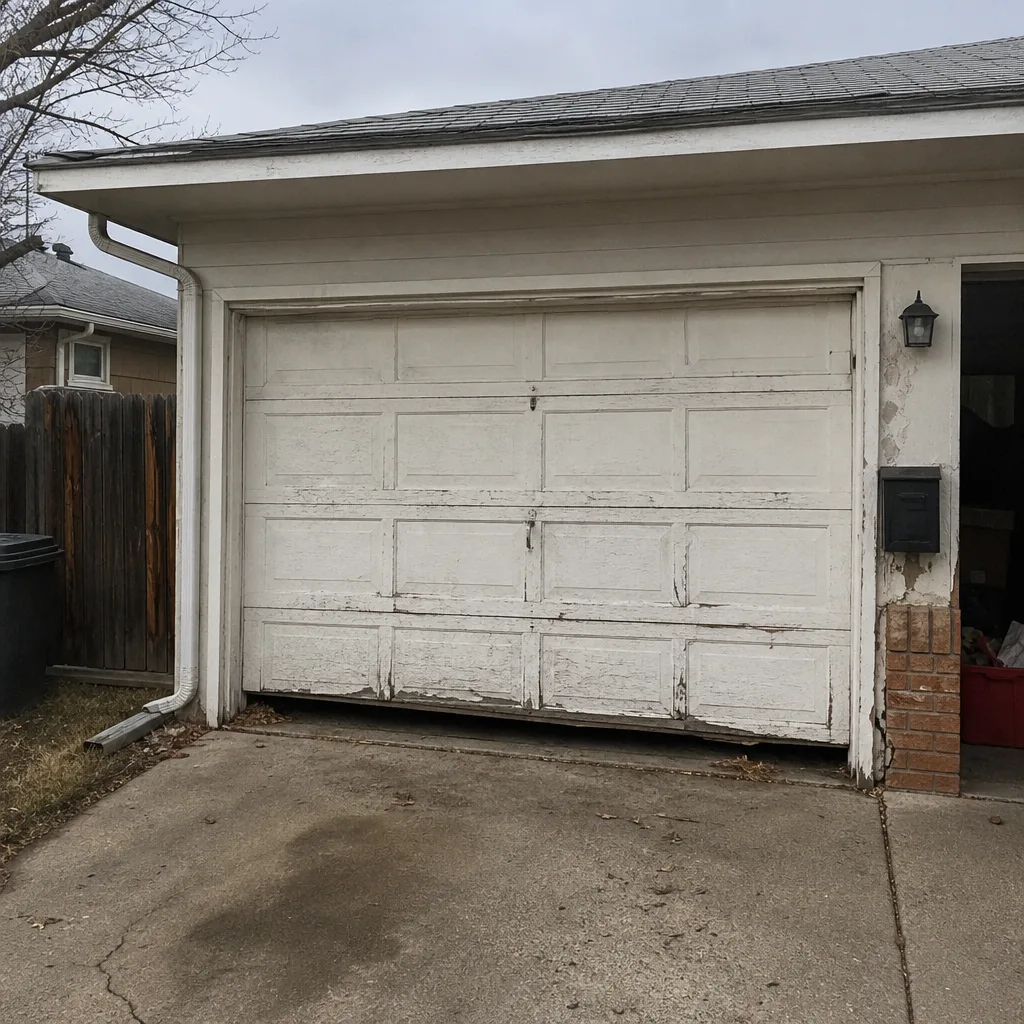 Before
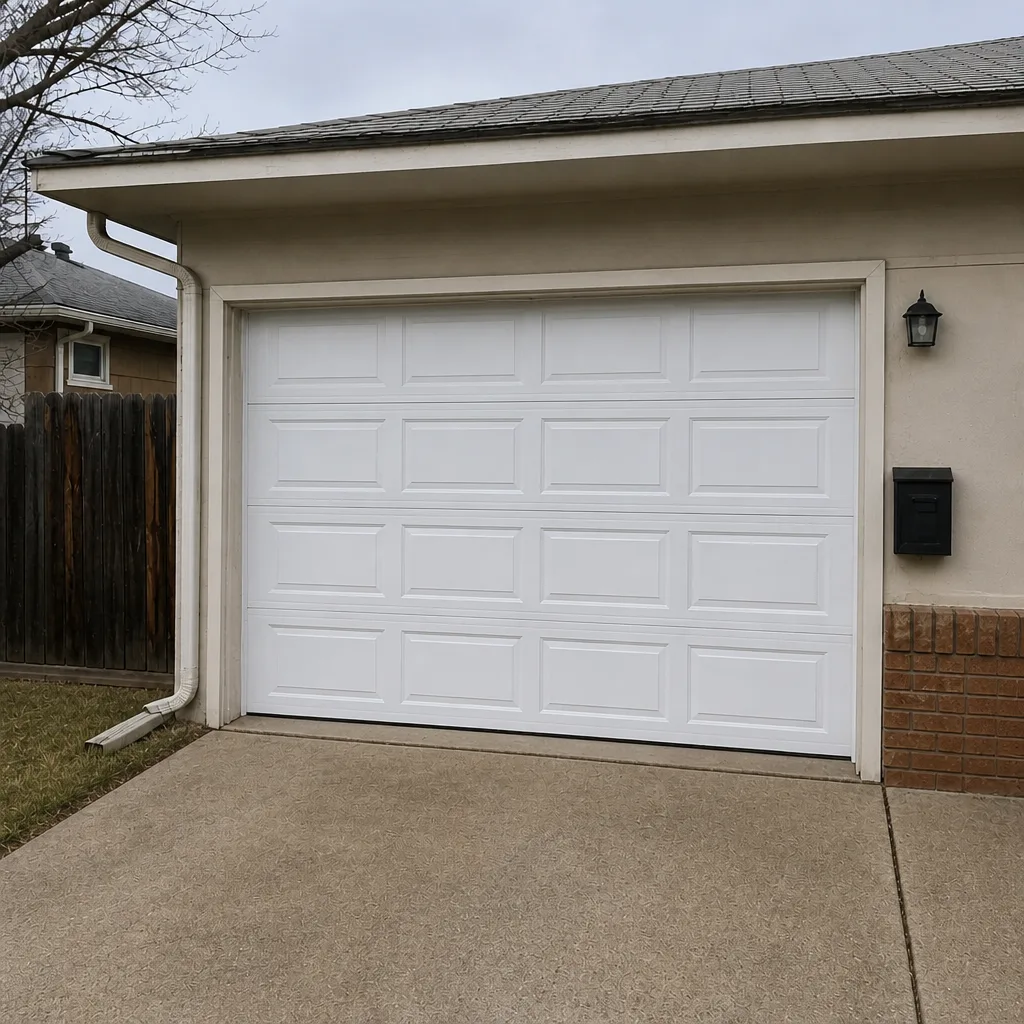 After
When to Call a Professional
Call a professional if you find any of the following: a broken or gapped torsion spring, a frayed or loose cable, a bottom bracket that’s come away from the door, a track that’s visibly bent, an opener that fails the safety reverse test, or a door that fails the balance test even after a visual inspection looks fine. Call immediately if the door won’t lift, drops on its own, or won’t close all the way. These are all stop-using-the-door situations.
For anything else on the checklist, feel free to inspect and repair what you can do safely. Our technicians have up to 11 years of experience across the major brands, and we work on everything from a bent track to a full replacement door. Englewood Garage Door Repair Pros offers free estimates in Englewood, so call (833) 513-8729. We answer 24/7, with fast dispatch from 7am to 7pm, Sunday through Friday. If a spring fails on a Saturday, we’re closed that day but happy to book you for Sunday.
Frequently Asked Questions
Twice a year, in late March and late October, plus a light mid-summer weatherstripping and balance check. The two full checks handle the seasonal temperature swings that stress the door most, and the light mid-summer check catches UV damage to seals before it turns into a replacement.
You can inspect them from a safe distance, but you should never adjust, remove, or tighten a torsion spring yourself. Torsion springs store extreme energy, and a snap can cause serious injury in an instant. The balance test is the safe homeowner-level test; for anything involving the springs’ tension, call a technician.
It usually means the torsion springs have lost tension or one of a matched pair has failed. A door that won’t hold position at halfway is the classic symptom, and it’s the early warning that leads to a spring repair before the opener burns out from the extra load.
Replace it when the seal feels hard and dry instead of flexing, when it crumbles at the edge, or when you can see a light gap or feel a draft under the closed door. In Colorado’s dry air and strong UV, bottom seals degrade faster than most homeowners expect, so check it every spring.
Not always, but a door that gets noticeably louder over months is telling you a roller, hinge, or bearing is wearing. Address it while it’s a small fix. A door that’s simply quiet and stays quiet through the season is fine.
Yes. Call (833) 513-8729. We answer 24/7, with fast dispatch from 7am to 7pm, Sunday through Friday. If a door fails outside dispatch hours, a call is booked into the next opening, and we’ll give you a written estimate before any work starts.
The Bottom Line
The garage door maintenance checklist for an Englewood home isn’t long, and most of it is inspection, not repair. The tasks that matter most are the balance test, a visual spring and cable check, the safety reverse test, and weatherstripping. Run them in late March and late October, and you’ll prevent the majority of the failures we see on repair calls throughout Englewood. Everything else on the list is wear management and appearance. The rule that protects your wallet: if the checklist points to a spring, cable, or bottom bracket, don’t touch it. That’s the call that pays for itself.
Call (833) 513-8729 for a free estimate. We answer 24/7. Fast dispatch from 7am to 7pm, Sunday through Friday. Whether it’s a single broken cable or a full new door, Englewood Garage Door Repair Pros is the specialist for your exact brand and model, and our goal is your door working right the first visit. Estimates are free and the price is quoted and agreed before any work starts, so you know the number before we begin.
Written by the team at Englewood Garage Door Repair Pros.